Another Look at the Wilson Combat 620BP 1911 Ambi Safety

After initial fitting of the engagement surfaces of the safety, it was time to trim the extra wide paddles so they were suitable for a duty/carry gun. Left is the “before” photo, and on the right is the “after”.

A few weeks ago, MSW Contributor Scott Ballard wrote about Wilson Combat’s latest iteration of their Bulletproof Ambidextrous Safety for the 1911. Originally available with tiny little levers, many of us were waiting for a version with longer and wider paddles that are more consistent with what we are used to. Thankfully, Wilson Combat answered the call and produced the 620BP, which has oversized paddles. Continue reading

Photo of the Day: 1911 Main Spring Housing Checkering


Here’s some progress on my latest project. After fitting the grip safety, I chased the very crude machine cut checkering by hand with a checkering file. The key to good cosmetics and functional checkering is to ensure each diamond comes to a point. This MSH was blasted and cold blued after the hand work to prevent corrosion during the build process.

Wilson Combat Model 620BP Ambidextrous Thumb Safety

The design of this safety from Wilson Combat just might make having a working and reliable ambi-safety a real possibility.

I am sort of a sucker for the 1911 and whenever a new part or an attempt at a new design comes out I find myself having to try it.  It was no different when I aw that the engineers at Wilson Combat had come up with a new ambidextrous thumb safety.  I quickly ordered one and 8 long days later the box arrived.  Now, I know you’re saying to yourself  what is so different and what in the world would make this particular part worth $142.95.  Well I asked myself that same question and the answer was if it is a ambidextrous 1911 thumb safety that actually works, then I am on board. Continue reading

THE USMC M45 CQBP: COLT IS BACK! (PART 1)

Colt CQBP displayed at SHOT Show.

Colt was recently awarded their first pistol contract on a 1911 pistol since the early 1950’s.  The United States Marine Corps awarded Colt Defense a $22.5M contract for the 45 caliber pistols slated for elite special operations units.  I was contacted in November to develop a Program of Instruction (POI) on the pistol, now called the M45 CQBP.  Accordingly, I made arrangements with Greg Rozum of Colt to work on the pistol. Continue reading

Fitting a New Plunger Tube on your 1911

A loose plunger tube can prevent your 1911 from firing
One of the great things about the 1911 is that every part on the gun is replaceable. The downside is that stuff wears out and/or comes loose. Combine this with the proliferation of sub quality parts common with many manufacturers, and this can be a recipe for disaster. I have found that current production Kimbers are plagued with plunger tubes that give way sooner rather than later. If the stakes give way and the tube is not properly supported by the grips as originally designed, the plunger tube can work itself far enough from the frame to prevent you from being able to disengage the safety and fire the pistol. This isn’t typically regarded as a good thing.
Here I will discuss how I fit a new plunger tube. Done this way, I have yet to experience one of my stakes come loose (and I have done a few.) You will need the following (Brownells P/N’s provided for your reference):

Understanding the 1911 Extractor Test

What happens when the 1911 extractor fails

Understanding the 1911 Extractor Test

by Tim Lau

Recently, there has been a bit of discussion on the 1911 “Extractor Test” and it became clear that many, if not most, don’t understand how to interpret the results or how it applies to 1911 function and why the test is not applicable to most modern service pistols. I will attempt to shed some light on this.

The 1911 Extractor Function Test

First of all, let’s describe the test. I first learned heard of this test from my friends Hilton Yam and Larry Vickers. Others, such as Wilson Combat, have shared it online as well.
The test is simple: fire a prescribed number of rounds through the pistol without a magazine inserted. In the 10-8 1911 Function test, we shoot 16 rounds this way. Eight are fired two handed and eight more are fired strong hand only.

Reworked: Springfield “Long Beach” Operator

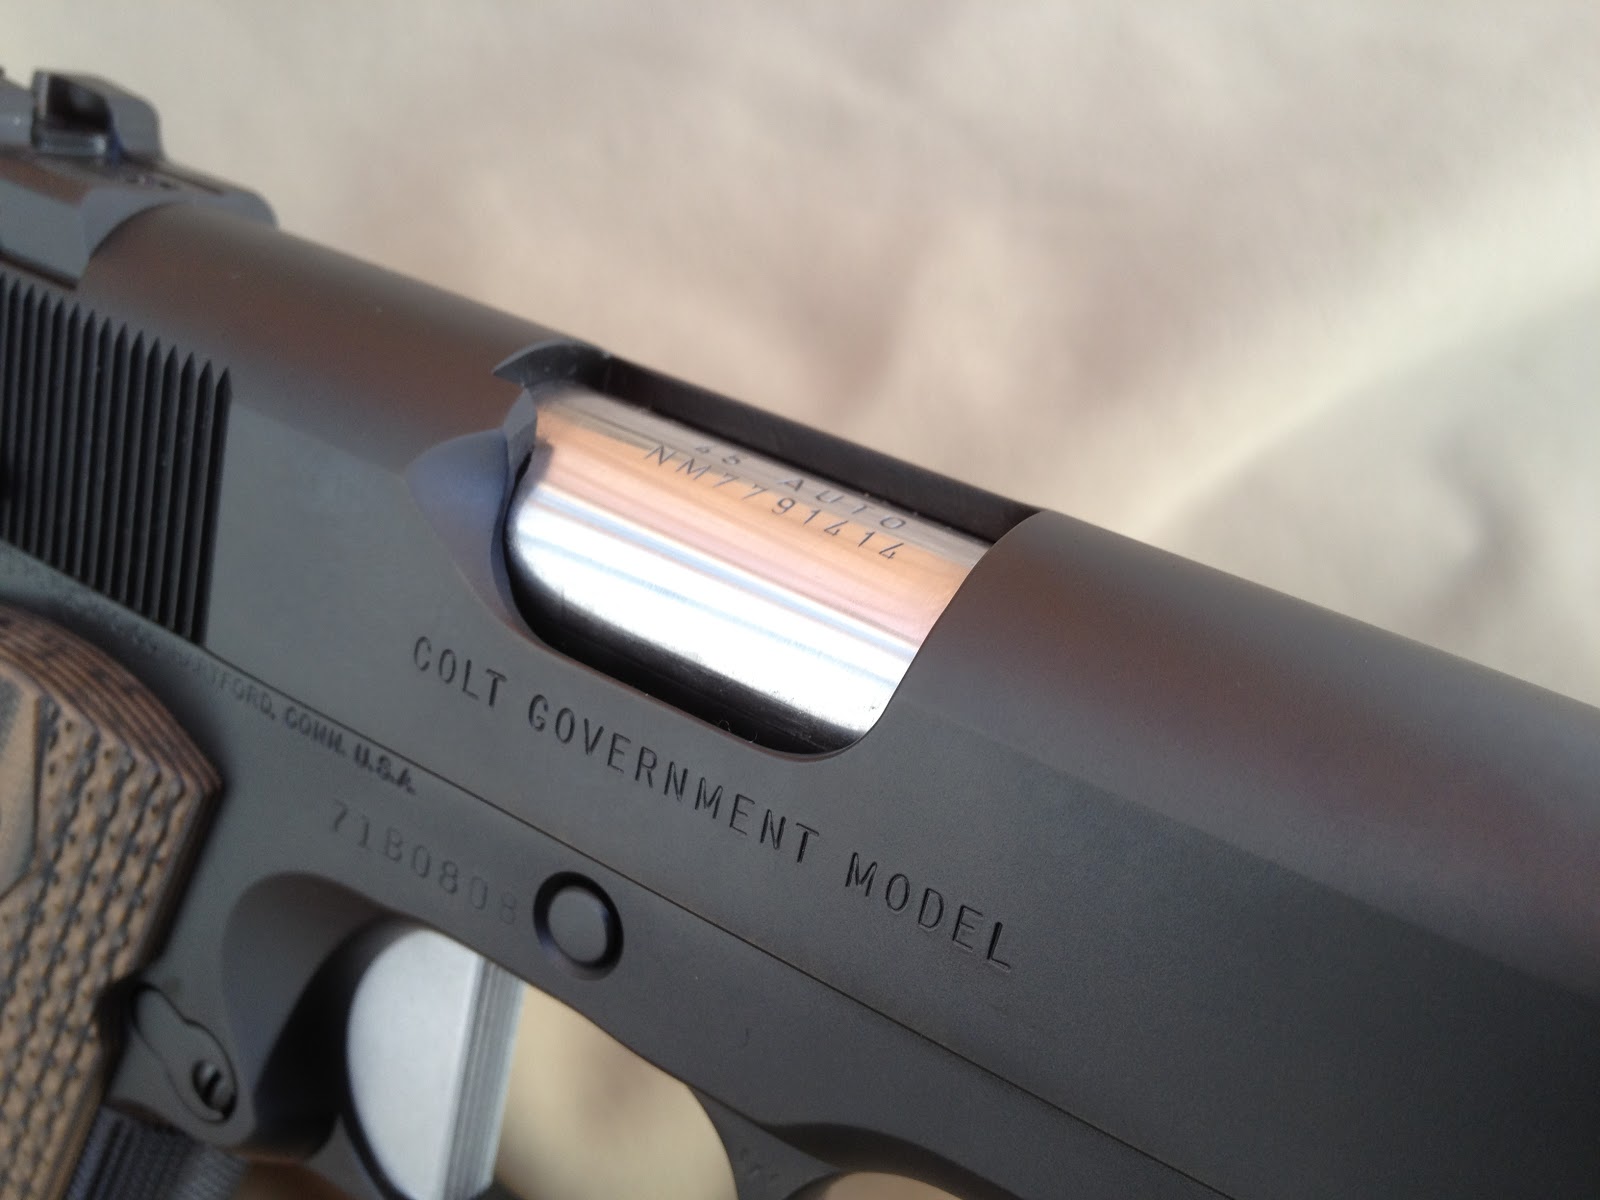
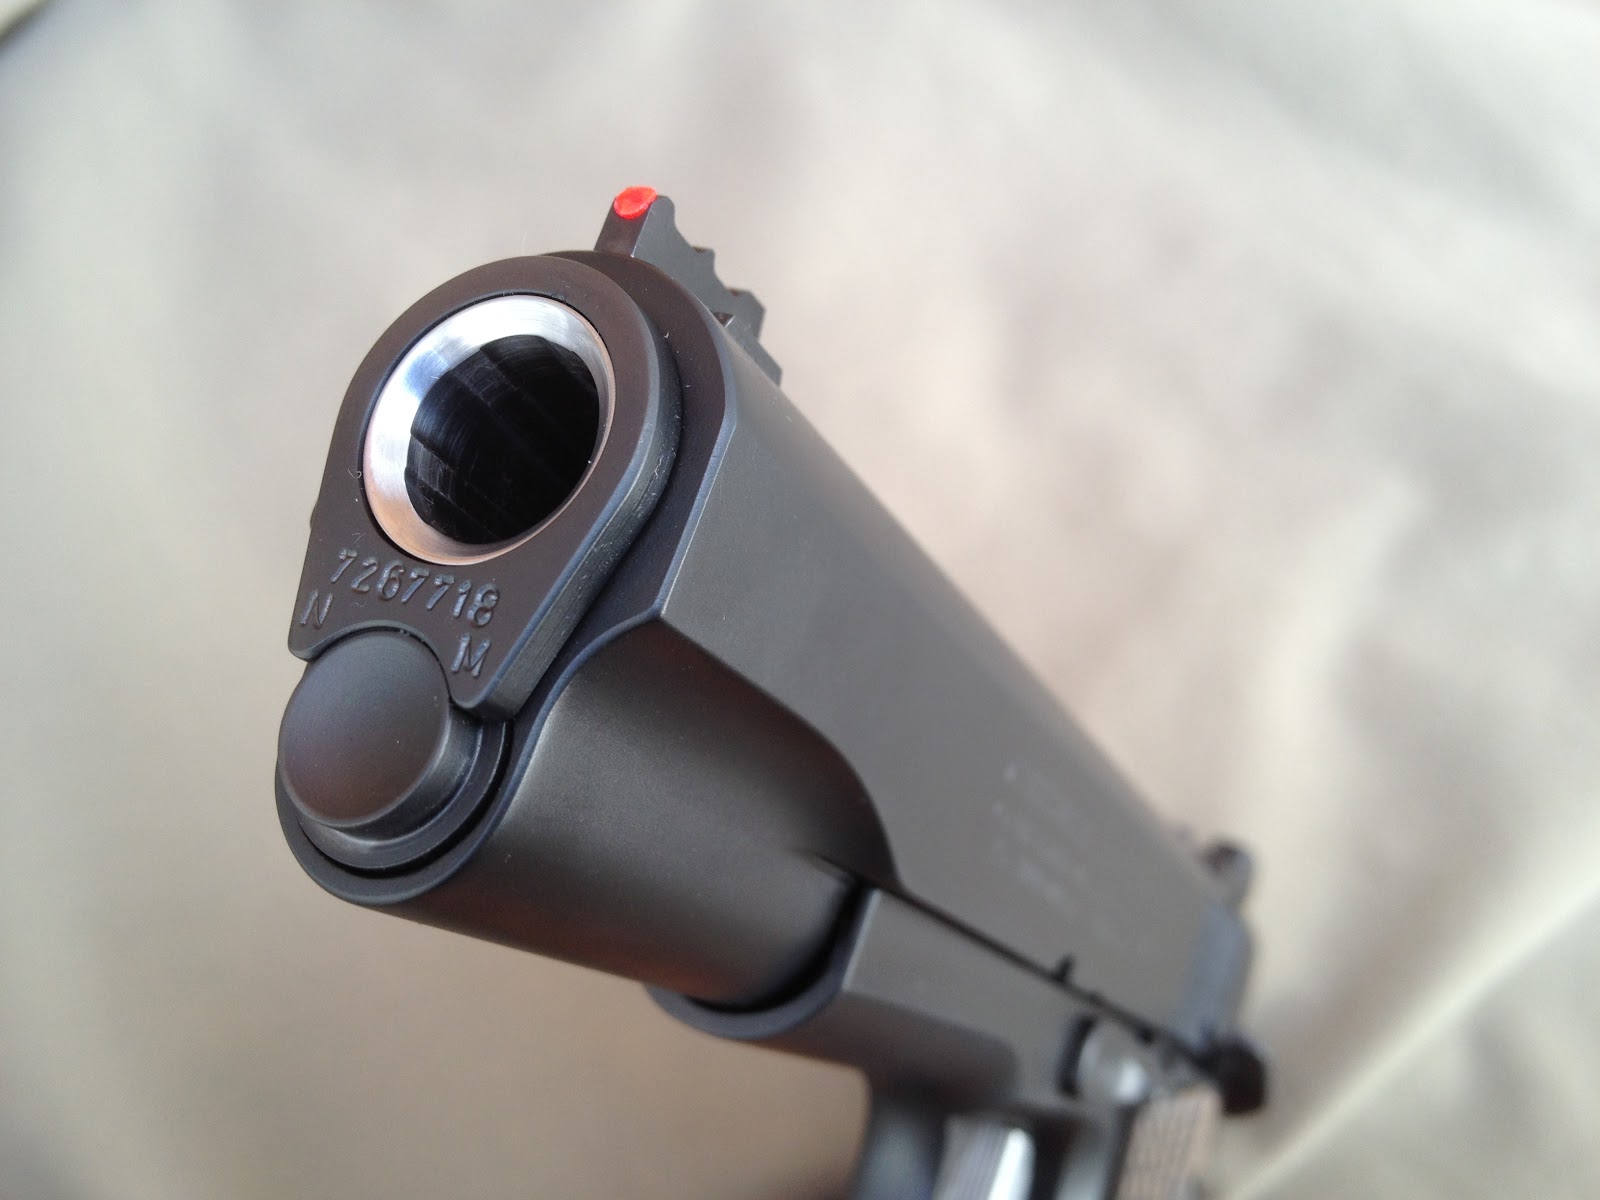
Springfield Armory “Long Beach” Model Ready for Duty
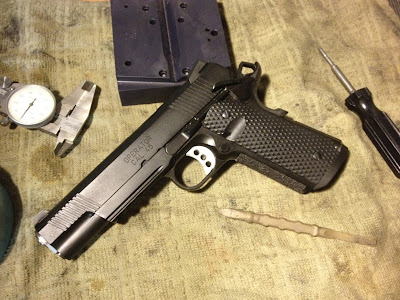
Recently, a K-9 officer I had worked with when I was a Gang Detective purchased a Springfield “Long Beach” Operator model 1911. This model is was made at the request of Long Beach (CA) PD officers who essentially wanted an MC Operator but in an all black package. It is built with higher grade parts (and workmanship) than the typical “Loaded” model pistols, and is pretty close to being ready for duty. However, it still needed some intervention by skilled hands before it was ready for duty.
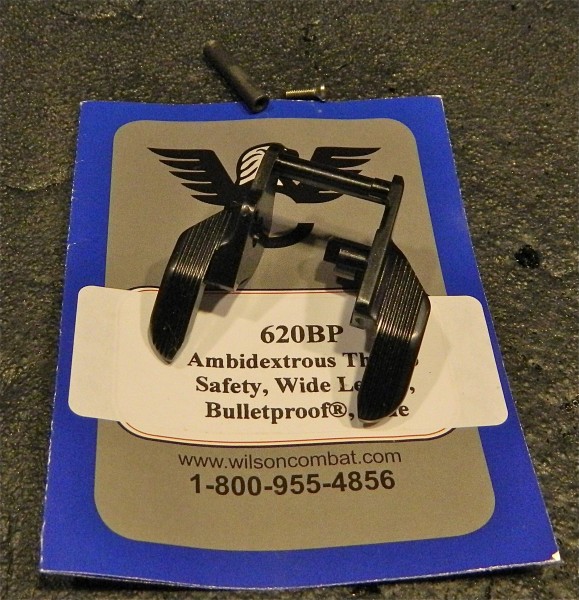
At a recent 10-8 Duty 1911 (Transition) course, this pistol could not pass the 10-8 Function Test Protocol. The factory extractor would not hold tension, and had to be replaced with a Wilson Bulletproof unit. Once the new extractor was fitted, it was good to go until the gun got hot and dry. Then it would hang up in the feed cycle. The owner asked me to look it over and I agreed.
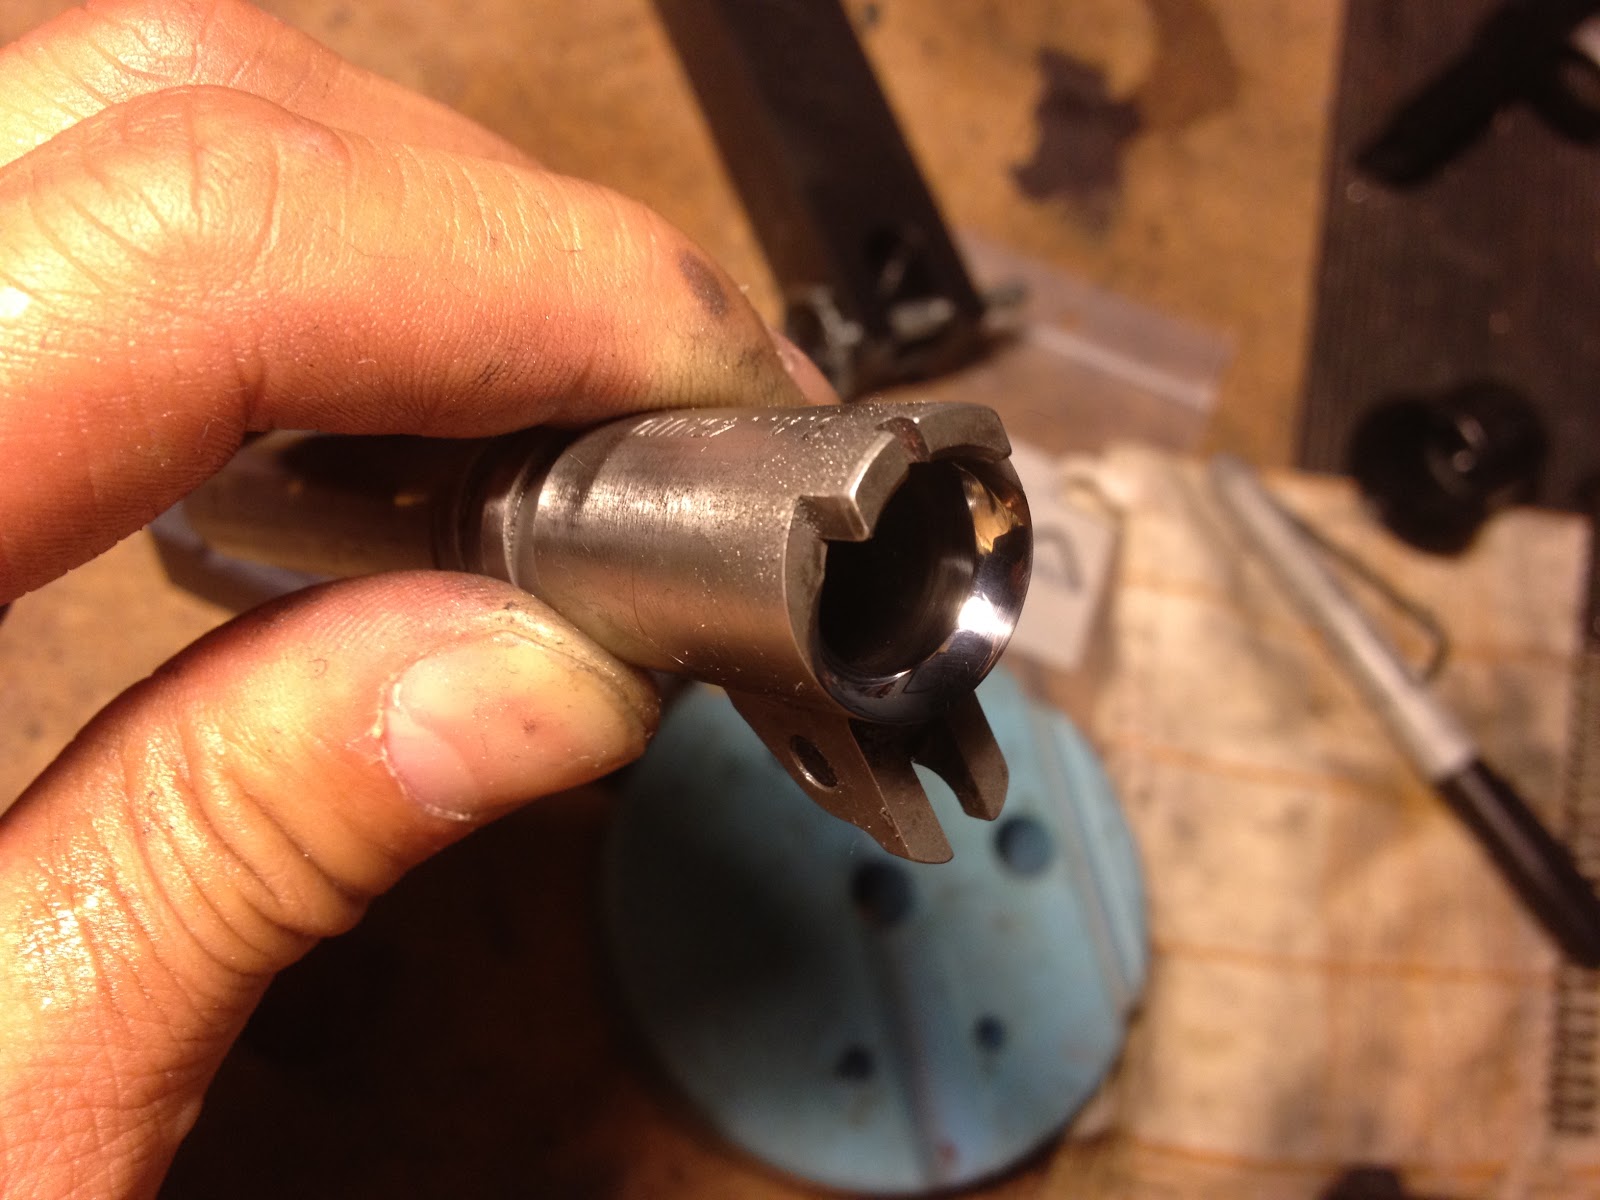
The first thing I did was check headspace, which was in spec. Then I ran a Manson Finishing Reamer, which will recut the chamber to SAAMI spec. I have yet to drop this reamer in a factory barrel and not have it remove metal. In my opinion, this is cheap insurance to help the gun chamber and lock up when hot, dry and dirty. I looked at the barrel throat and saw it could use a little reprofiling. While I gave it a pretty high polish, this is not necessary. It is critical to have correct geometry as no amount of polishing will fix poor feed ramp or barrel throat geometry.
Here is what the throat looked like prior to reprofiling.
Here it is after:

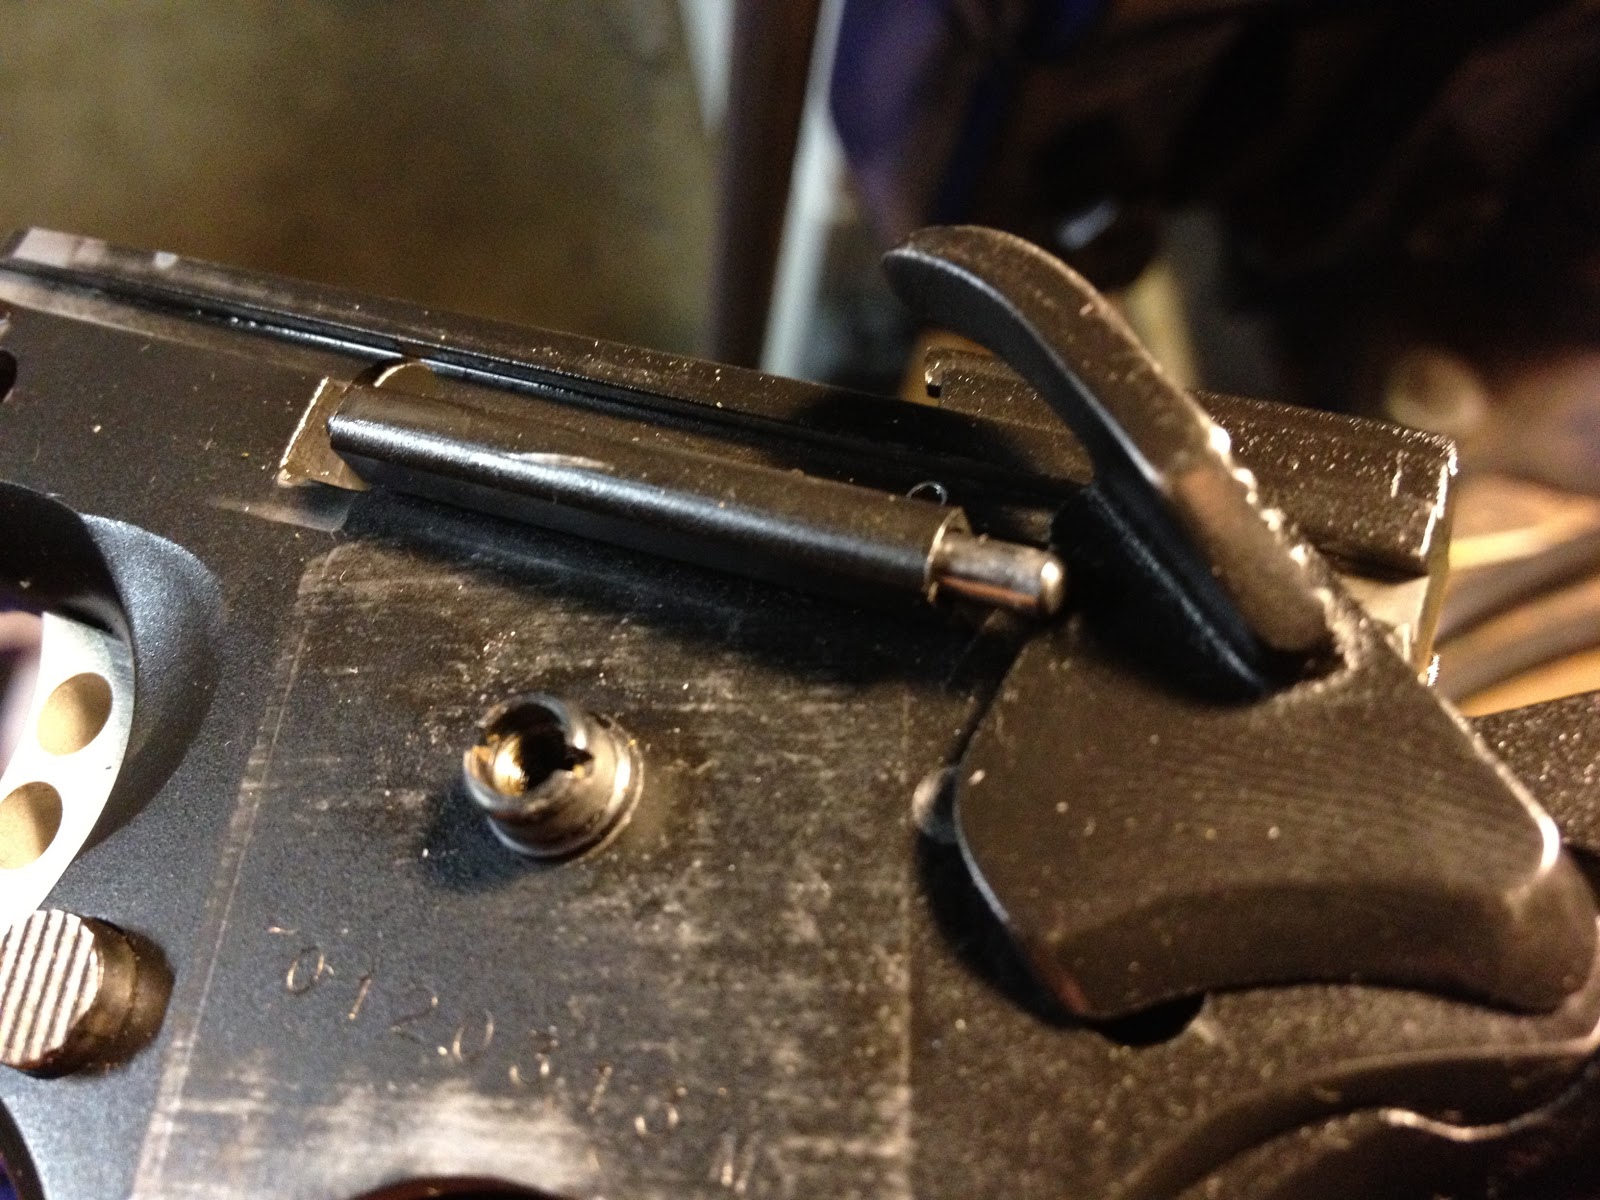
One look at the feed ramp and it was obvious it was out of spec. The bottom of the ramp should be around .400″ below the top of the frame rails. An easy way to eyeball this is to see if the bottom edge feed ramp is about even with the window for the slide stop lobe. As seen in the photo below, this one wasn’t even close. You can get away with this if all you shoot is ball ammo, or non-aggressive hollow points, but if you want to shoot a variety of aggressive bullet profiles, this is a recipe for a feed way stoppage.

Here is the same frame after the feed ramp is recut and polished. Again, the polishing is really a feel good measure, and not important. Much more critical is the proper angle. Since I lack machines, this feed ramp was recut by hand with a Dremel. Polishing was carefully done by hand with paper and then a felt wheel.

Other mods include changing out the torn head grip screws with flat head ones (I don’t carry torx drivers with me on the range) and relieving the grip panels to exposed the MSH pin. This particular pistol did not have enough trigger travel rearward to clear the sear for the safety shelf. Without going into a long treatise, this is a dangerous situation that could result in a broken sear nose. In this case, I had to clearance the grip safety arm as the trigger bow was running into it. 
A couple hours of work and the pistol was ready for test fire. It passed the 10-8 1911 Function Test Protocol with flying colors. I am confident that with the proper preventative maintenance cycle, and good magazines, this pistol should serve its new owner well for many years to come.
Tim L
10-8 Consulting, LLC 

Latest Custom 1911 Build Back From Ion Bond

A couple years ago, I started building on a Colt Series 70 Reproduction I had purchased through the Colt Armorer’s Program nearly 10 years prior. I managed to get a hold of a rare IMI Match barrel which I thought would be perfect for this project. Springfield Custom did a beautiful job with the machine checkering of the front strap and welding of the Legacy Custom magazine well, which adds no net length to the frame yet nearly doubles the margin for error for a magazine change. The front is relieved so that stuck magazines can be yanked out by the toe of the magazine. It works great with the 10-8 Performance base pads.

Other parts include an EGW HD Hammer, Sear and Disconnector, 10-8 flat trigger, 10-8 rear sight, 10-8 fiber optic front, 10-8 mag catch, 10-8 grip screws, 10-8 slide stop, 10-8 recoil spring plug, an aggressively recontoured Wilson Combat ambi-safety, CMC grip safety, and STI hammer strut.
Thanks to Monty at Centurion Arms for his help with the recessed barrel crown and flush cut slide stop pin. Having him help me with the machine work for these operations sure beats doing it by hand.

After a comprehensive test fire, I used the pistol in the white at the LAV/Hackathorn 1911 Centennial Class in Chino, CA. It ran perfectly, so I got it ready for refinishing. I sent it off to Springer Precision in Bend, OR, one of the big resellers of Ion Bond’s Diamondblack finish. I normally do all my own surface prep, but Ion Bond requires very specific preparation which includes no glass in the abrasive media and no oil on the gun. I did the initial prep, but had Springer Precision do the final blast with glass free media.

It isn’t cheap, but DiamondBLACK offers some of the best abrasion resistance of any coating on the market. it is applied via Particle Vapor Deposition and adds very little thickness (only a few microns) to the surface, which is handy for painstakingly fitted parts such as the slide/frame fit. While it does not have great inherent corrosion resistance, the surface readily absorbs lubricants and will release it over time.

Due to the many hours of hard work invested, I am always hesitant to send away work for refinishing, but I bit the bullet and sent it off. Seven weeks later, I received the pistol and I must say it looks great. The satin black finish is even and attractive. The price tag was kinda steep, but if it holds up as well as I have heard from trusted sources, it will have been worth it.

I heavily recontoured the Wilson wide ambi-safety which came out real nice

Using the dreaded Dremel, I lowered the ejection port and cut the scallop by hand

Monty from Centurion Arms helped with the recessed crown, a custom touch I’ve always liked.

Note the detailed dehorning of areas typically ignored. If I can see it or touch it, it will be addressed.